【Android Studio】ボタンに画像を表示する方法 – ImageButtonビュー
Sara
この記事ではボタンに画像を表示する ImageButtonビューの使い方を紹介します。
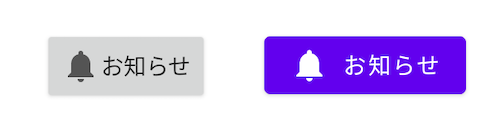
画像とテキストを表示するボタンの作り方は以下の記事をお読み下さい。
準備
開発環境
| Android Studio | 4.2.1 |
|---|---|
| Android Emulator | Nexus 4 (API 30) |
| minSdk | 16 |
| targetSdk | 30 |
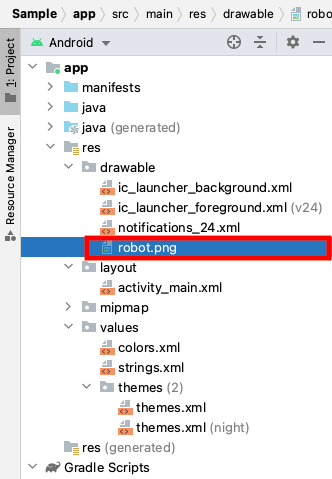
画像について
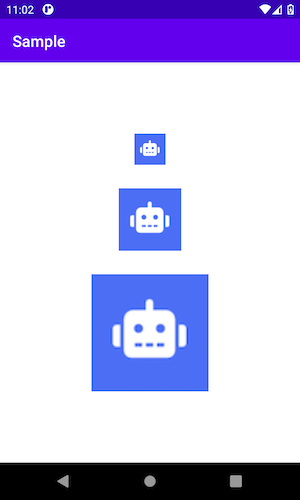
使う画像は drawable フォルダに置いています。サイズは縦横 80 px にしています。
ImageButtonビューの使い方
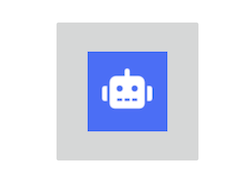
ボタンのサイズを wrap_content にした場合

<ImageButton
    android:layout_width="wrap_content"
    android:layout_height="wrap_content"
    android:src="@drawable/robot" />
グレーの部分を無くす場合は padding 属性を追加します。

<ImageButton
    android:layout_width="wrap_content"
    android:layout_height="wrap_content"
    android:src="@drawable/robot"
    android:padding="0dp" />
ボタンのサイズを画像より大きくした場合
<ImageButton
    android:layout_width="150dp"
    android:layout_height="150dp"
    android:src="@drawable/robot" />
ボタンのサイズに合わせて画像を拡大するには scaleType 属性を使います。

<ImageButton
    android:layout_width="150dp"
    android:layout_height="150dp"
    android:src="@drawable/robot"
    android:scaleType="fitCenter" />
ボタンのサイズを画像より小さくした場合

<ImageButton
    android:layout_width="40dp"
    android:layout_height="40dp"
    android:src="@drawable/robot" />
ボタンのサイズに合わせて画像を表示するには scaleType 属性を使います。

<ImageButton
    android:layout_width="40dp"
    android:layout_height="40dp"
    android:src="@drawable/robot"
    android:scaleType="fitCenter"
    android:padding="0dp" />
ヒント
src 属性で画像を指定すると画像はオリジナルのサイズで表示されます。background 属性を使うとボタンのサイズに合わせて画像が拡大・縮小されます。
参考:ImageButton の src 属性と background 属性の違い
0 Comments
古い順
ABOUT ME
書籍やオンライン講座でプログラミングを勉強してフリーランスのプログラマーになりました。
独学でプログラミングを勉強をしている方、基礎は勉強したけれど次に何をすれば良いか分からない...という方のお役に立てるサイトを目指しています。
>> 詳しいプロフィールはこちら
主な使用言語:Kotlin / Swift / Java / PHP
その他運営サイト:請求書作成ツール
独学でプログラミングを勉強をしている方、基礎は勉強したけれど次に何をすれば良いか分からない...という方のお役に立てるサイトを目指しています。
>> 詳しいプロフィールはこちら
主な使用言語:Kotlin / Swift / Java / PHP
その他運営サイト:請求書作成ツール