【Android Studio】ボタンにアイコン画像とテキストを表示する方法
Sara
この記事ではButton ウィジェットにアイコン画像とテキストを表示する方法 の使い方を紹介します。
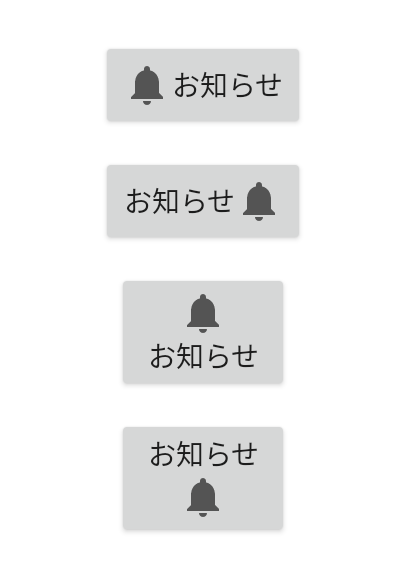
Theme.AppCompat の場合
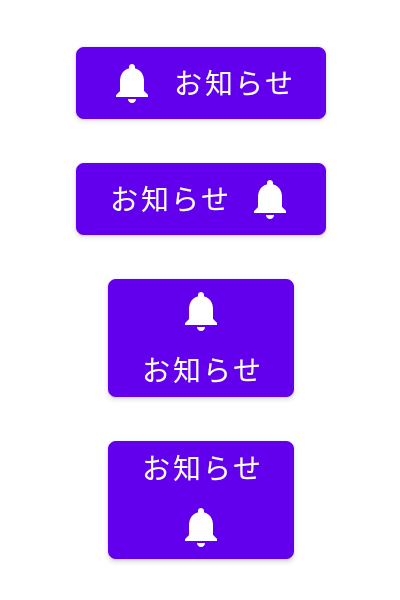
Theme.MaterialComponents の場合
画像だけのボタンには ImageButton ウィジェットを使います。
あわせて読みたい
【Android Studio】ボタンに画像を表示する方法 – ImageButtonビュー
準備
開発環境
| Android Studio | 4.2.1 |
|---|---|
| Android Emulator | Nexus 4 (API 30) |
| minSdk | 16 |
| targetSdk | 30 |
テーマについて
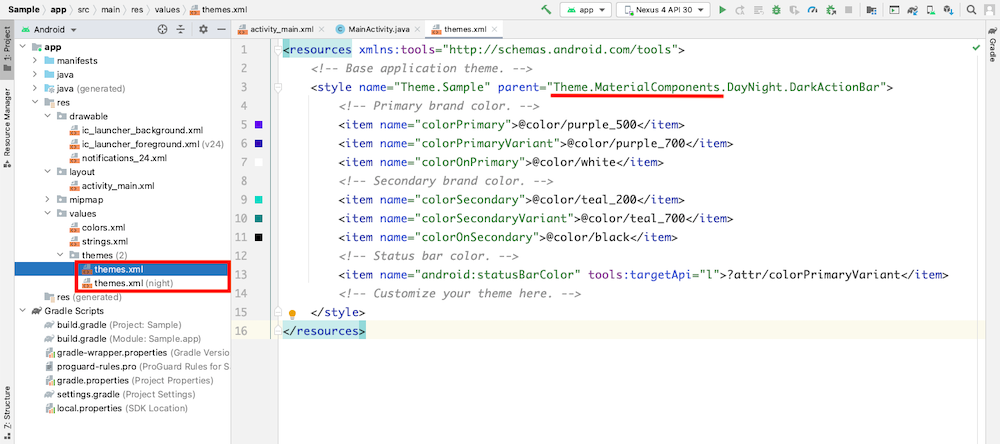
app → res → values → themes.xml の3行目で設定しているテーマによって、ボタンのデザインが異なります。
画像について
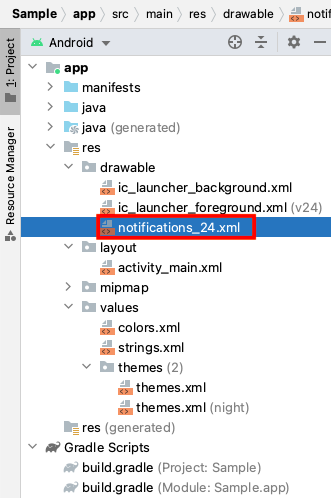
使うアイコン画像は drawable フォルダに置いています。サイズは縦横 24 dp にしています。
ボタンの作り方
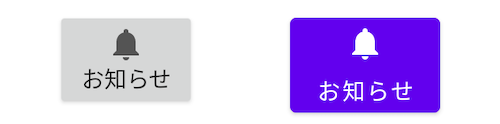
アイコン画像を左側に表示する
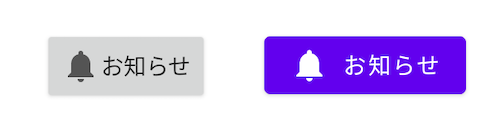
Theme.AppCompat の場合
<Button
    android:layout_width="wrap_content"
    android:layout_height="wrap_content"
    android:text="お知らせ"
    android:drawableLeft="@drawable/notifications_24"
    android:drawableStart="@drawable/notifications_24" />
minSdkVersion を 17 以上にしている場合は drawableLeft は必要ありません。
Theme.MaterialComponents の場合
<Button
    android:layout_width="wrap_content"
    android:layout_height="wrap_content"
    android:text="お知らせ"
    app:icon="@drawable/notifications_24" />
drawableLeft, drawableStart の代わりに app:icon 属性を使って画像を指定します。
アイコン画像を右側に表示する
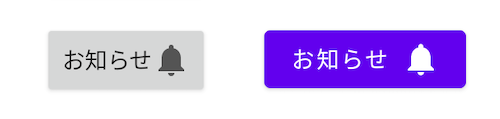
Theme.AppCompat の場合
<Button
    android:layout_width="wrap_content"
    android:layout_height="wrap_content"
    android:text="お知らせ"
    android:drawableRight="@drawable/notifications_24"
    android:drawableEnd="@drawable/notifications_24" />
minSdkVersion を 17 以上にしている場合は drawableRight は必要ありません。
Theme.MaterialComponents の場合
<Button
    android:layout_width="wrap_content"
    android:layout_height="wrap_content"
    android:text="お知らせ"
    app:icon="@drawable/notifications_24"
    app:iconGravity="end" />
app:iconGravity 属性を使ってアイコン画像を右側に設定しています。
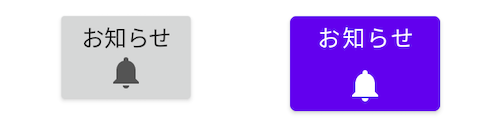
アイコン画像を上に表示する
<Button
    android:layout_width="wrap_content"
    android:layout_height="wrap_content"
    android:text="お知らせ"
    android:drawableTop="@drawable/notifications_24" />
アイコン画像を下に表示する
<Button
    android:layout_width="wrap_content"
    android:layout_height="wrap_content"
    android:text="お知らせ"
    android:drawableBottom="@drawable/notifications_24" />
0 Comments
古い順
ABOUT ME
書籍やオンライン講座でプログラミングを勉強してフリーランスのプログラマーになりました。
独学でプログラミングを勉強をしている方、基礎は勉強したけれど次に何をすれば良いか分からない...という方のお役に立てるサイトを目指しています。
>> 詳しいプロフィールはこちら
主な使用言語:Kotlin / Swift / Java / PHP
その他運営サイト:請求書作成ツール
独学でプログラミングを勉強をしている方、基礎は勉強したけれど次に何をすれば良いか分からない...という方のお役に立てるサイトを目指しています。
>> 詳しいプロフィールはこちら
主な使用言語:Kotlin / Swift / Java / PHP
その他運営サイト:請求書作成ツール