【jQuery】テーブル Tr 行を動的に追加・削除・並び替え・値を取得する方法
この記事では「jQueryを使ってテーブルのTr行を動的に扱う方法」を紹介します。
具体的には
- tr(inputフォーム)を追加
- tr(inputフォーム)を削除
- tr を並び替える
- input の値を取得する
という機能を実装します。
input フォームを動的に追加・削除する機能は、私が頂いたウェブアプリ開発の仕事でトップ3に入るほど需要がある機能でした。
ウェブアプリ開発をする上で知っておいて損はない機能です。一度作っておけば必要な時にすぐ使うことができるのでぜひお試しください。
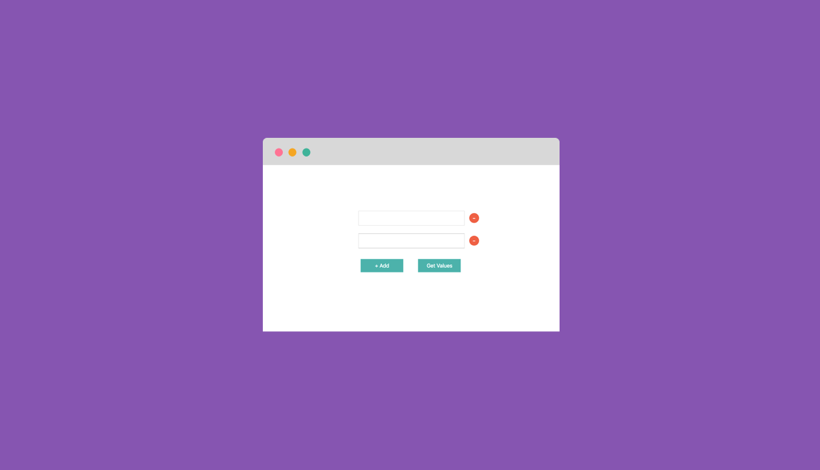
HTML
index.htmlというファイルを作成して、以下のコードを書きます(ファイル名は自由に変更して下さい)。
<!DOCTYPE html>
<html lang="ja">
<head>
<meta charset="utf-8">
<title>テーブル追加</title>
</head>
<body>
<div class="container">
<table>
<tbody>
<tr>
<td><input type="text" name="name"></td>
<td><button class="remove">-</button></td>
</tr>
<tr>
<td><input type="text" name="name"></td>
<td><button class="remove">-</button></td>
</tr>
</tbody>
</table>
<button id="addRow">+ 追加</button>
<button id="getValues">値を取得</button>
</div>
</body>
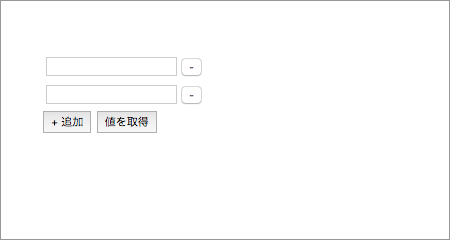
</html>このままだと少しわかりにくいので、サイズや色を変更して使いやすくしてみましょう。
CSS
6~41行目を追加します。
<!DOCTYPE html>
<html lang="ja">
<head>
<meta charset="utf-8">
<title>テーブル追加</title>
<style>
.container {
width: 500px;
margin: 100px auto;
}
input {
width: 300px;
font-size: 18px;
margin: 10px;
padding: 10px;
}
.remove {
width: 30px;
height: 30px;
font-size: 20px;
background-color: tomato;
color: white;
border: none;
border-radius: 15px;
}
#addRow, #getValues {
width: 130px;
height: 40px;
font-size: 16px;
background-color: lightseagreen;
color: white;
border: none;
margin: 20px;
}
button:hover {
cursor: pointer;
}
tr:hover {
cursor: move;
}
</style>
</head>
<body>
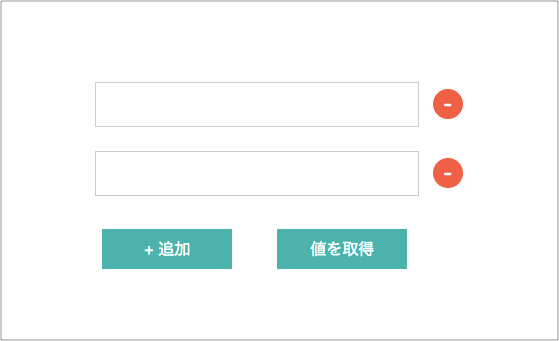
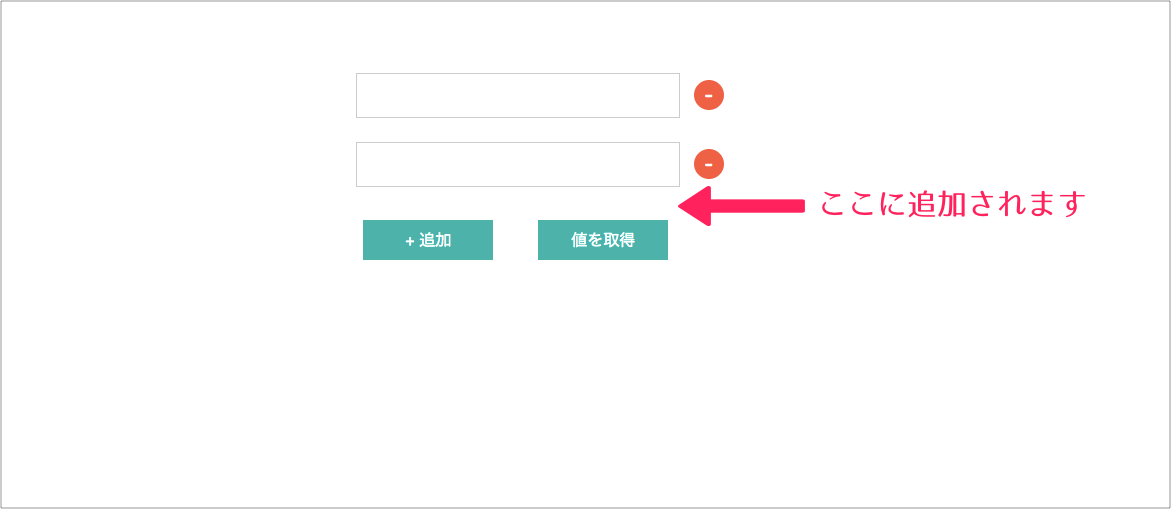
<!-- 省略 -->このような画面になりました。
jQuery
jQueryを読み込む
jQuery を読み込む方法は2つあります。
- ファイルをダウンロードする
- CDN を利用する
今回は② CDN(コンテンツデリバリネットワーク)を利用します。
CDN を使うとインターネット経由でファイルを読み込むことができるので、ダウンロード不要で簡単に使うことができます。
CDN を提供しているサイトはいくつかありますが、今回は Google Hosted Libraries を使いましょう。
「Google Hosted Libraries」で検索するか、こちらのリンクにアクセスします。
jQuery と jQuery UI を使います。
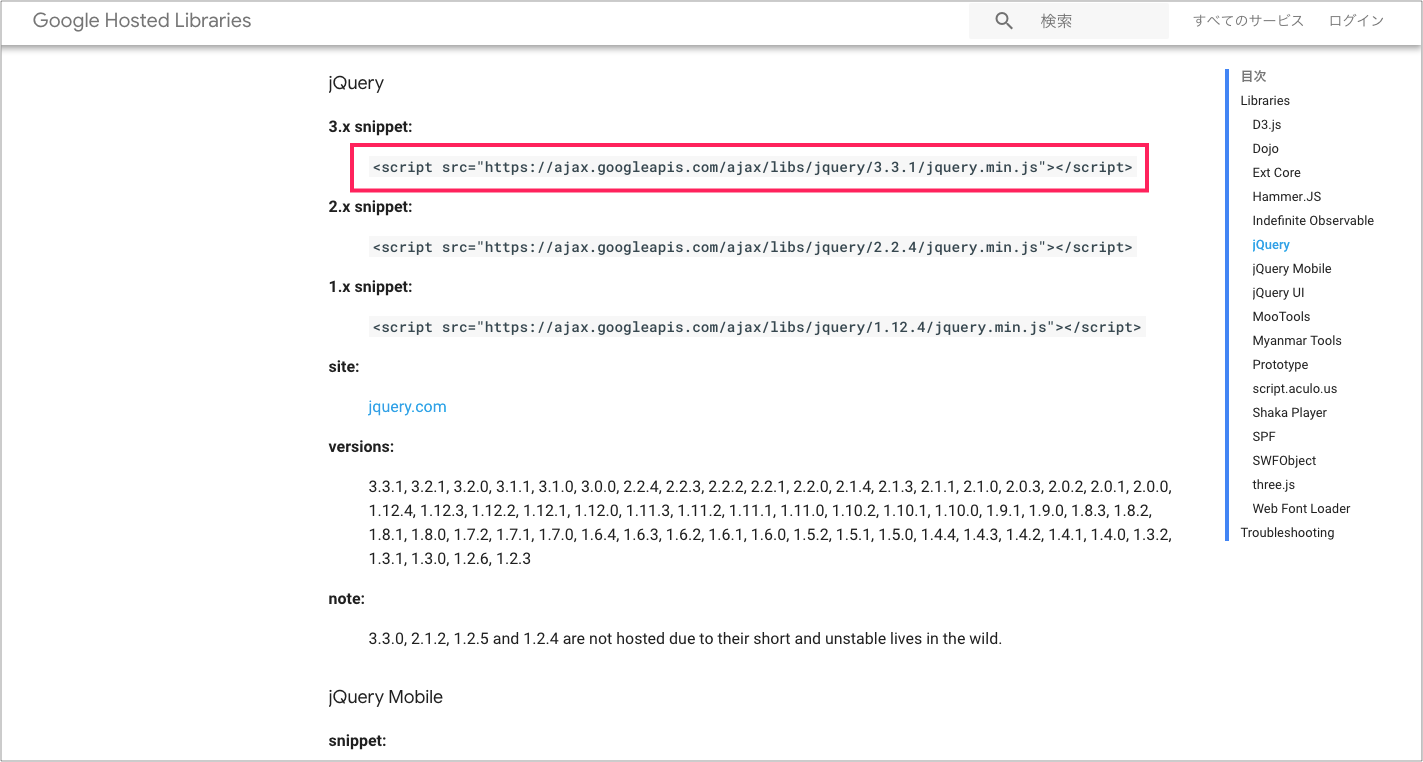
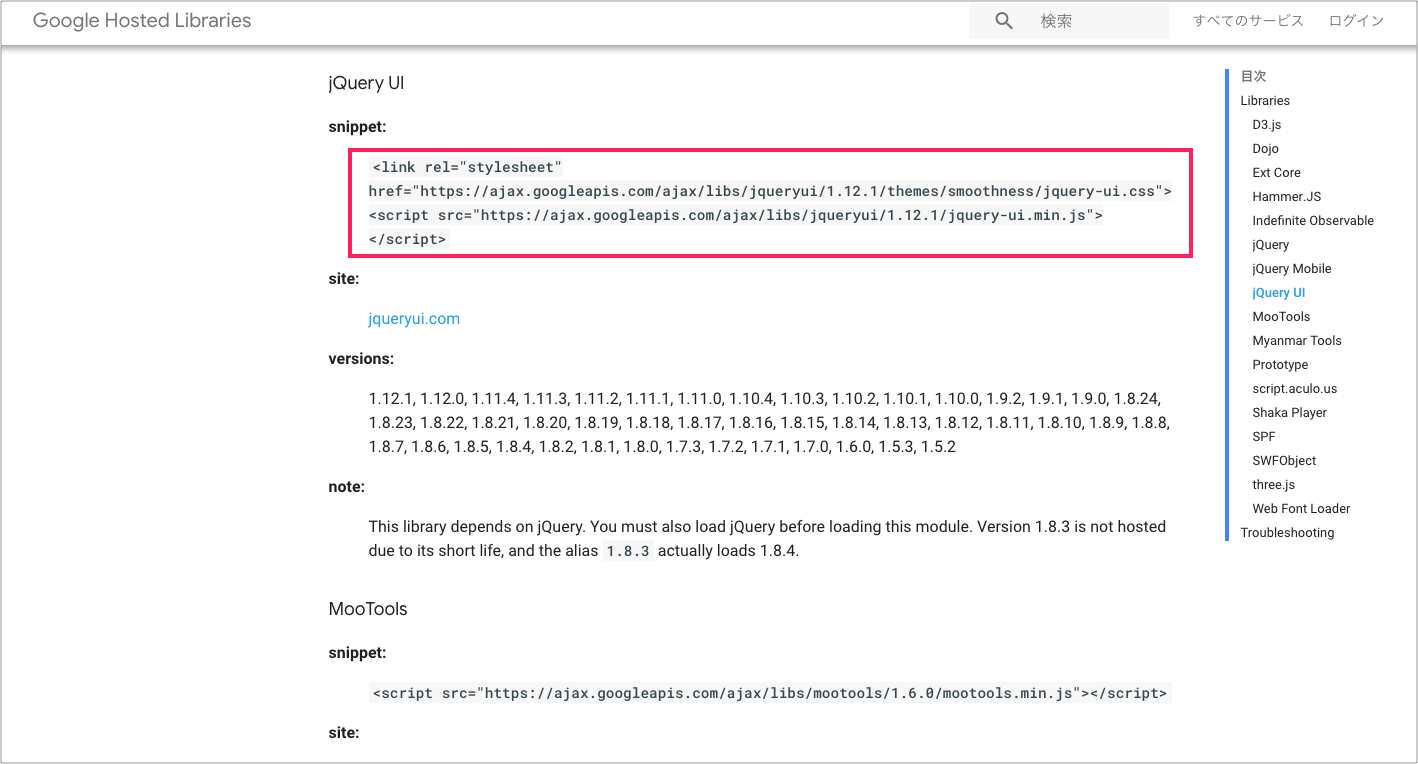
赤枠の部分コードを6・17・18行目に追加します。
<!DOCTYPE html>
<html lang="ja">
<head>
    <meta charset="utf-8">
    <title>テーブル追加</title>
    <link rel="stylesheet" href="https://ajax.googleapis.com/ajax/libs/jqueryui/1.12.1/themes/smoothness/jquery-ui.css">
    <style>
     /* 省略 */
    </style>
</head>
<body>
<div class="container">
    <!-- 省略 -->
    <button id="addRow">+ 追加</button>
    <button id="getValues">値を取得</button>
</div>
<script src="https://ajax.googleapis.com/ajax/libs/jquery/3.3.1/jquery.min.js"></script>
<script src="https://ajax.googleapis.com/ajax/libs/jqueryui/1.12.1/jquery-ui.min.js"></script>
</body>
</html>
jQueryコードを書く場所
3~7行目を追加します。
<!-- 省略 -->
<script src="https://ajax.googleapis.com/ajax/libs/jqueryui/1.12.1/jquery-ui.min.js"></script>
<script>
$(function(){
    // ここに書いていきます
});
</script>
</body>
</html>
ページの読み込みが完了してから実行されるように $(function(){…}); を書きます。
機能の実装
並び替え
まずは一番簡単な並び替え機能をつけてみます。必要なのはたった1行です。
4行目を追加します。
<!-- 省略 -->
<script>
$(function(){
    $('tbody').sortable();
});
</script>
</body>
</html>
テーブル行に対して sortable を使う場合は tbody を指定する必要があります。
行を追加する
次に「+追加」ボタンを押したら Tr 行が追加されるようにします。
6~9行目を追加します。
<!-- 省略 -->
<script>
$(function(){
    $('tbody').sortable();

    $('#addRow').click(function(){
        var html = '<tr><td><input type="text" name="name"></td><td><button class="remove">-</button></td></tr>';
        $('tbody').append(html);
    });
});
</script>
</body>
</html>
6行目
$('#addRow').click(function(){...});id が addRow の要素(追加ボタン)がクリックされたら、function(){…} の処理を実行するという意味です。
8行目
$('tbody').append(html);append() を使って tbody 内の一番最後に html を追加します。
Trを削除する
削除ボタンが押されたときの処理です。
6~8行目を追加します。
<!-- 省略 -->
<script>
$(function(){
    // 省略

    $(document).on('click', '.remove', function() {
        $(this).parents('tr').remove();
    });
});
</script>
</body>
</html>
6行目
$(document).on('click', '.remove', function() {...});class 名が remove の要素に対してクリックイベントをセットしています。
追加ボタンと削除ボタンを押した時はどちらもクリックイベントを使いますが、少しだけ書き方が異なっています。
追加:$('#addRow').click(function(){...});
削除:$(document).on('click', '.remove', function() {...});これは、追加ボタンを押した時に追加される Tr 要素は、ページ読み込み時にはまだ作成されていないからです。
ページ読み込み時に存在しない要素に対してはクリックイベントが動作しないので、ページ読み込み後に動的に追加される要素に対しては document を使います。
7行目
$(this).parents('tr').remove();クリックされた .remove の親要素 tr を remove(削除)します。

値を取得する
最後に、入力した値を取得してアラートで表示します。
6~12行目を追加します。
<script>
$(function(){
    // 省略

    $('#getValues').click(function(){
        var values = [];
        $('input[name="name"]').each(function(i, elem){
            values.push($(elem).val());
        });
        alert(values.join(', '));
    });
});
</script>
</body>
</html>
8~10行目
$('input[name="name"]').each(function(i, elem){
    values.push($(elem).val());
});
name 属性値が name の input 要素に対して、each を使って各要素を取り出して values 配列に値を入れていきます。
i は何番目か、elem は要素を意味しています。
11行目
alert(values.join(', '));全ての要素の値を配列に入れたら、配列をカンマ区切りの文字列にしてアラート表示します。

完成
以上で完成です。
上手く動かない場合は、サンプルコードと比較してみてください。
サンプルコード
<!DOCTYPE html>
<html lang="ja">
<head>
    <meta charset="utf-8">
    <title>テーブル追加</title>
    <link rel="stylesheet" href="https://ajax.googleapis.com/ajax/libs/jqueryui/1.12.1/themes/smoothness/jquery-ui.css">
    <style>
        .container {
            width: 500px;
            margin: 100px auto;
        }
        input {
            width: 300px;
            font-size: 18px;
            margin: 10px;
            padding: 10px;
        }
        .remove {
            width: 30px;
            height: 30px;
            font-size: 20px;
            background-color: tomato;
            color: white;
            border: none;
            border-radius: 15px;
        }
        #addRow, #getValues {
            width: 130px;
            height: 40px;
            font-size: 16px;
            background-color: lightseagreen;
            color: white;
            border: none;
            margin: 20px;
        }
        button:hover {
            cursor: pointer;
        }
        tr:hover {
            cursor: move;
        }
    </style>
</head>
<body>
<div class="container">
    <table>
        <tbody>
            <tr>
                <td><input type="text" name="name"></td>
                <td><button class="remove">-</button></td>
            </tr>
            <tr>
                <td><input type="text" name="name"></td>
                <td><button class="remove">-</button></td>
            </tr>
        </tbody>
    </table>
    <button id="addRow">+ 追加</button>
    <button id="getValues">値を取得</button>
</div>
<script src="https://ajax.googleapis.com/ajax/libs/jquery/3.3.1/jquery.min.js"></script>
<script src="https://ajax.googleapis.com/ajax/libs/jqueryui/1.12.1/jquery-ui.min.js"></script>
<script>
$(function(){
    $('tbody').sortable();

    $('#addRow').click(function(){
        var html = '<tr><td><input type="text" name="name"></td><td><button class="remove">-</button></td></tr>';
        $('tbody').append(html);
    });

    $(document).on('click', '.remove', function() {
        $(this).parents('tr').remove();
    });

    $('#getValues').click(function(){
        var values = [];
        $('input[name="name"]').each(function(i, elem){
            values.push($(elem).val());
        });
        alert(values.join(', '));
    });
});
</script>
</body>
</html>
スマートフォンに対応させる方法
sortable はスマートフォンなどのタッチデバイスでは動作しないので jQuery UI Touch Punch というライブラリを使用します。
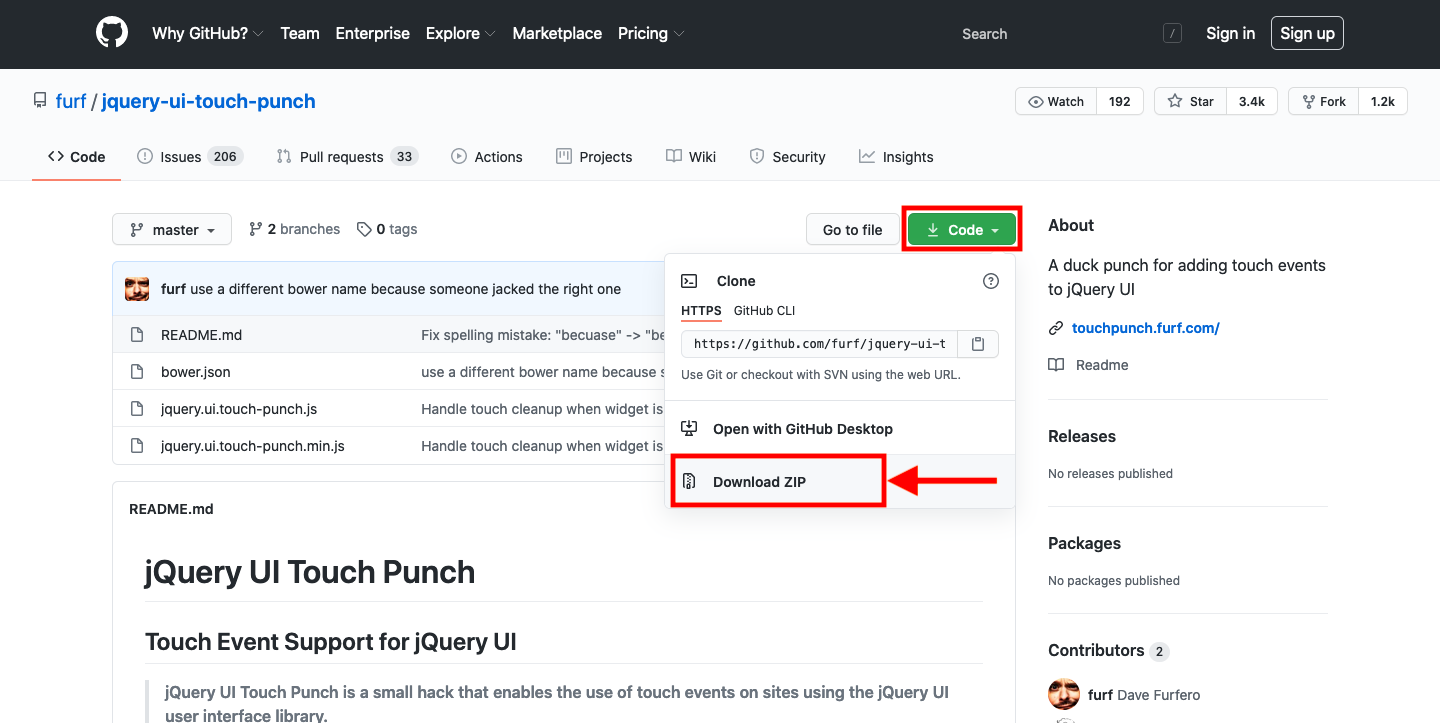
jQuery UI Touch Punch をダウンロード
https://github.com/furf/jquery-ui-touch-punch にアクセスして、緑色の「CODE」ボタン →「Download ZIP」をクリックします。
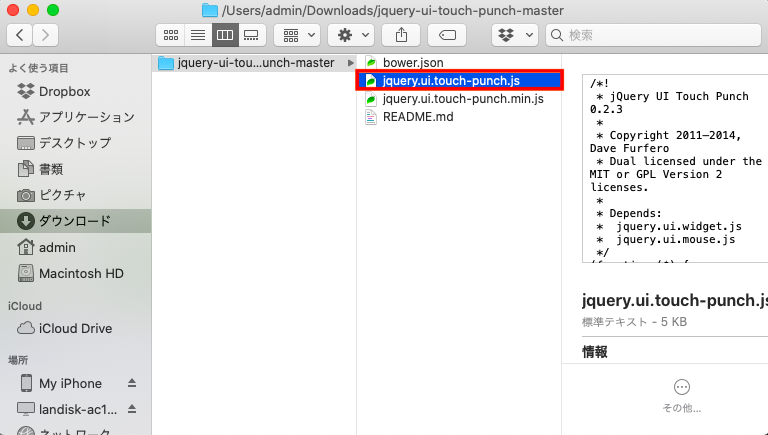
ダウンロードした zip ファイルを開くと4つのファイルが入っていますが jquery-ui-touch-punch.js だけを使います。
jquery-ui-touch-punch.js の編集
テキストや画像を並べ替えるだけならば jquery-ui-touch-punch.js を読み込むだけで sortable を使うことができるようになりますが、今回は input を使用しています。
input をタップした時に入力できるようにするために jquery-ui-touch-punch.js を少し変更します。
jquery-ui-touch-punch.js の 38 行目あたりにある event.preventDefault(); を見つけてください。
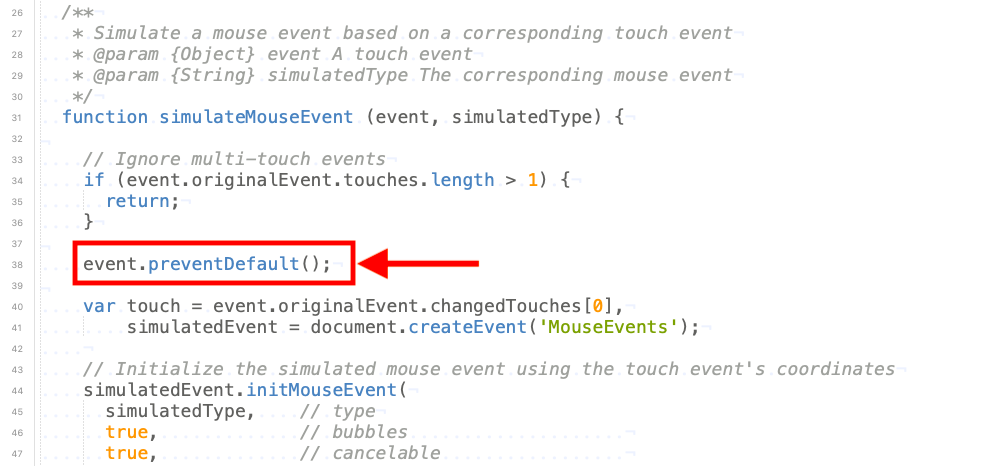
以下のように8行目をコメントアウトして、13~17行目を追加します。
function simulateMouseEvent (event, simulatedType) {

    // Ignore multi-touch events
    if (event.originalEvent.touches.length > 1) {
      return;
    }

    //event.preventDefault();

    var touch = event.originalEvent.changedTouches[0],
        simulatedEvent = document.createEvent('MouseEvents');

    if ($(touch.target).is('input') || $(touch.target).is('textarea')) {
        event.stopPropagation();
    } else {
        event.preventDefault();
    }

    // Initialize the simulated mouse event using the touch event's coordinates
    simulatedEvent.initMouseEvent(
      simulatedType,    // type
      true,             // bubbles
jquery-ui-touch-punch.js の読み込み
最後に index.html で jquery-ui-touch-punch.js を読み込めば完成です。
5・17行目を追加します。* パスはお使いの環境に合わせて変更してください。
<!DOCTYPE html>
<html lang="ja">
<head>
    <meta charset="utf-8">
    <meta name="viewport" content="width=device-width, initial-scale=1">
    <title>テーブル追加</title>
<!--
***************
    省略
***************
-->
  <button id="addRow">+ 追加</button>
  <button id="getValues">値を取得</button>
</div>
<script src="https://ajax.googleapis.com/ajax/libs/jquery/3.3.1/jquery.min.js"></script>
<script src="https://ajax.googleapis.com/ajax/libs/jqueryui/1.12.1/jquery-ui.min.js"></script>
<script src="/パスを書いてください/jquery.ui.touch-punch.js"></script>
<script>
/*
**************
    省略
**************
*/
</script>
</body>
</html>
このサイトでは「わかりやすく・シンプル」をモットーに、プログラミングの基礎からアプリ開発まで紹介します。
独学でプログラミングを勉強をしている方、基礎は勉強したけれど次に何をすれば良いか分からない...という方のお役に立てるサイトを目指しています。
主な使用言語:Kotlin / Java / PHP
>> 詳しいプロフィール
>> お問い合わせ
>> 書籍
>> note も更新中!
