【Android Studio】ダイアログを表示する方法 ④ チェックボックスのリスト(Kotlin編)
この記事ではダイアログにチェックボックスのリストを表示する方法を紹介します。
開発環境
| Android Studio | Giraffe | 2022.3.1 Patch 2 |
|---|---|
| Android Emulator | Nexus 4 (API 34) |
| minSdk | 19 |
| targetSdk | 34 |
プロジェクトについて
Sample という名前でプロジェクトを作成しています。
ファイルは
- activity_main.xml
- MainActivity.kt
- MyDialogFragment.kt
があることを前提に進めていきます。
MyDialogFragment.kt の作成方法はダイアログを表示する方法 ① 基本型(Kotlin編)をお読みください。
解説
1. ダイアログを作成する
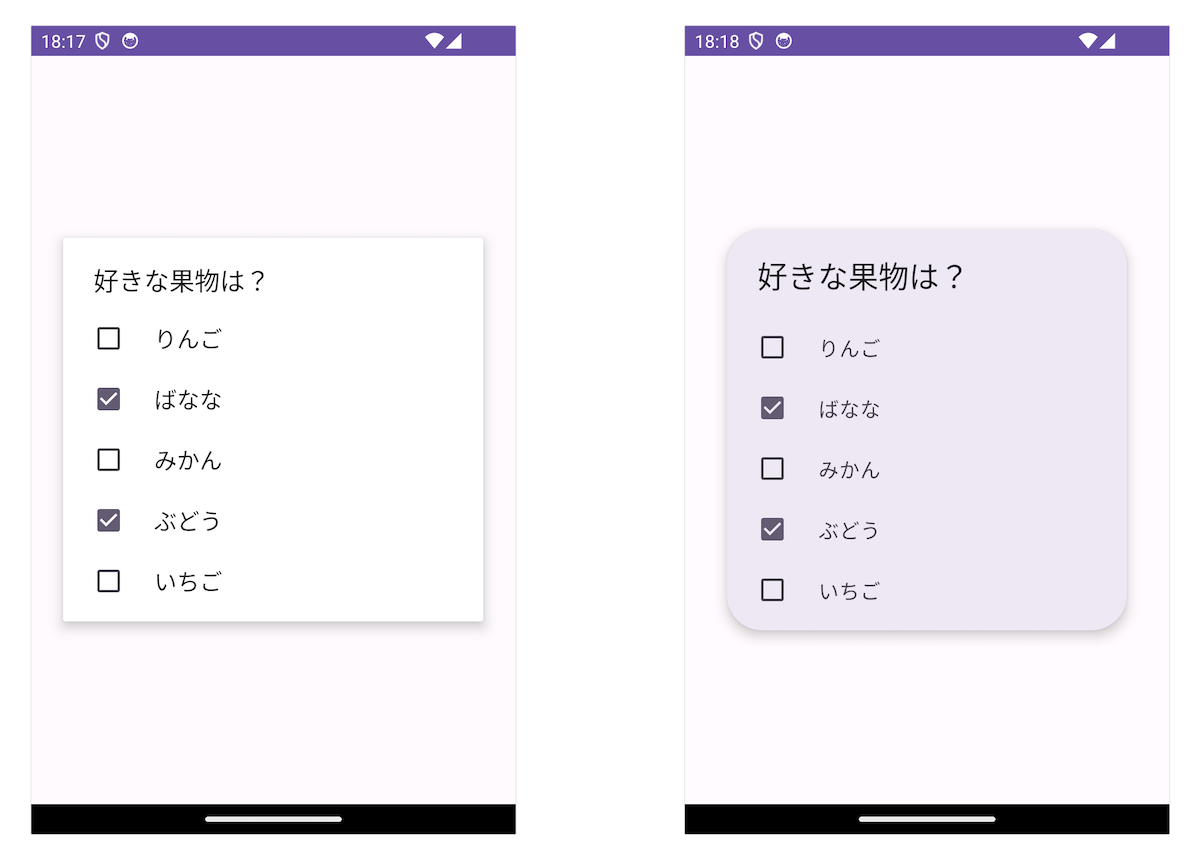
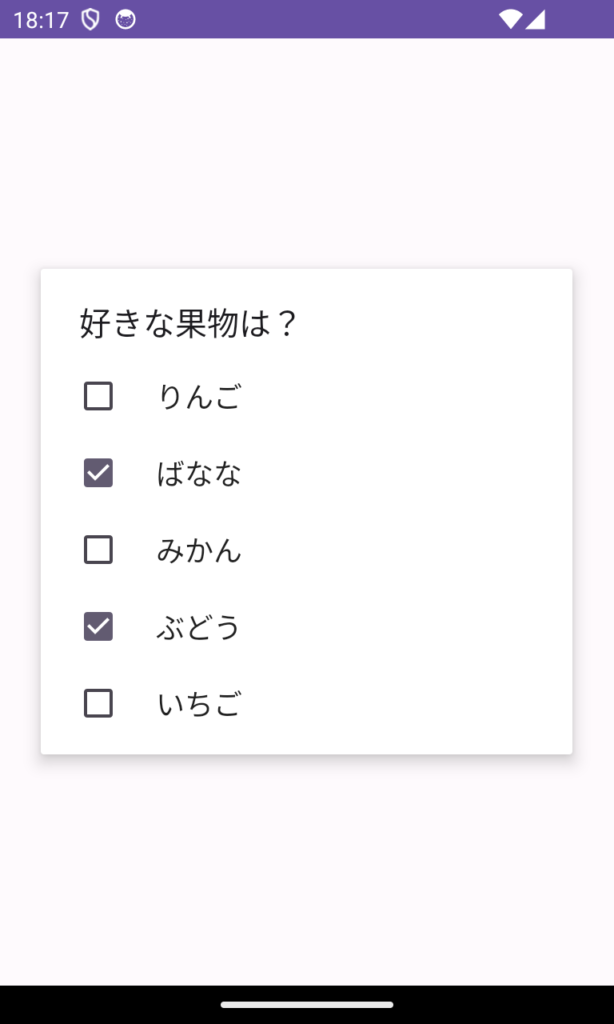
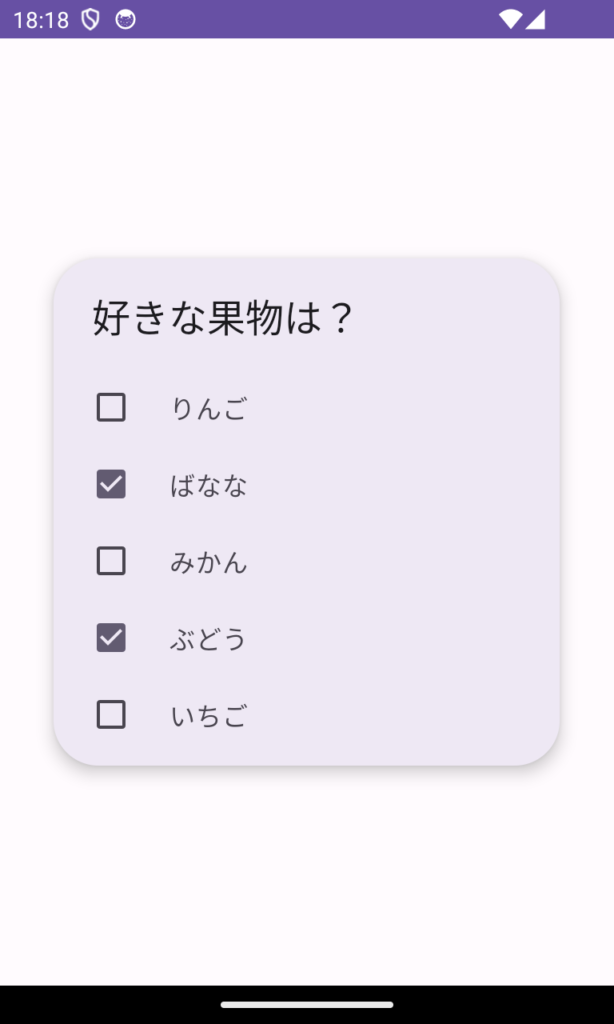
ダイアログは2種類のデザインがあります。
AlertDialog
MaterialAlertDialog
まずは普通の AlertDialog でリストを作成してみましょう。
MyDialogFragment.kt を開いて、以下のようにダイアログを作成します。
13行目:項目の用意
リストに表示する項目を用意しています。
14行目:初期のチェック状態
最初からチェックを付けておく項目は true にしておきます。
17行目: デザインを変える
MaterialAlertDialog にする場合は、17行目を以下のように変更してください。
MaterialAlertDialogBuilder(it)19~24行目:項目をセット&タップイベント
setMultiChoiceItems メソッドを使って、13・14行目に用意した項目と初期状態 をセットします。
20行目でチェック状態を更新しておきます。
ここではタップした項目を Toast 表示するコードを書いています。
ボタンについて
「OK」「キャンセル」などのボタンを表示することも可能です。
ダイアログを表示する方法 ① 基本型(Kotlin編)をお読みください。
3. ダイアログを開くボタンを用意する
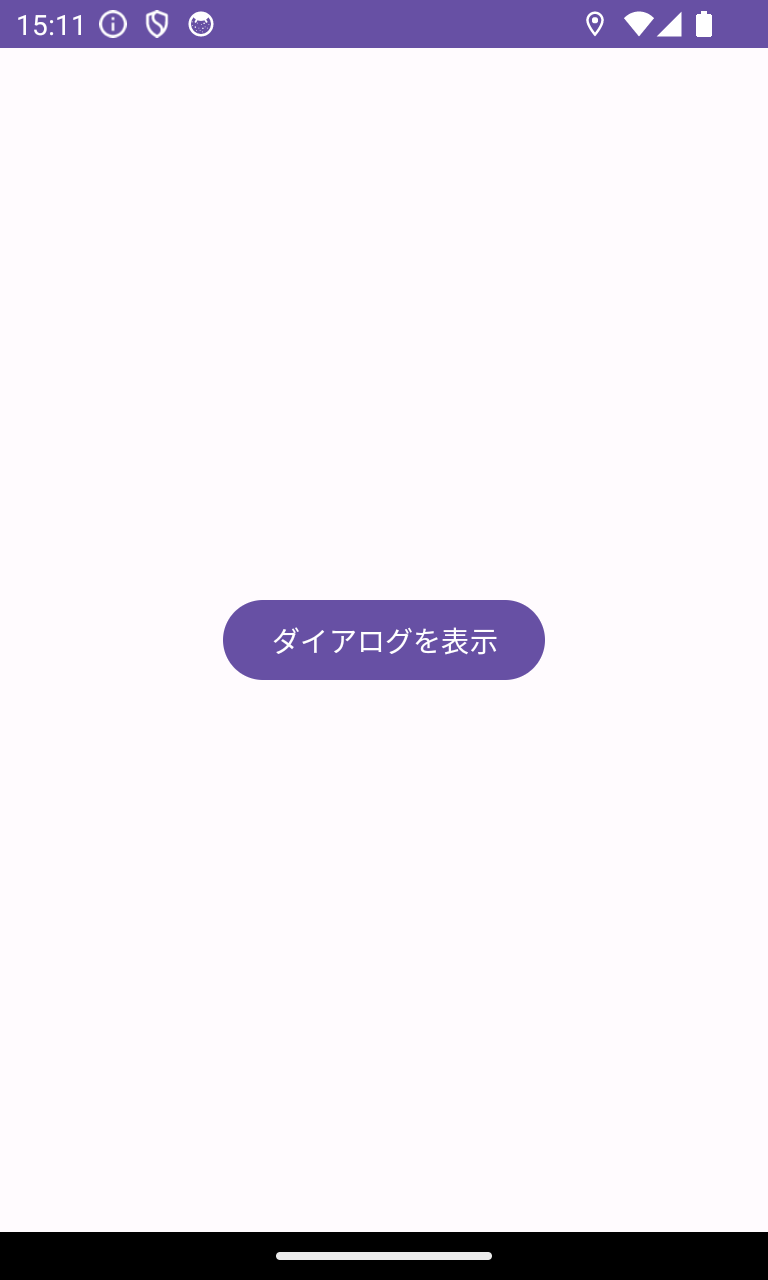
activity_main.xml にダイアログを開くボタンを用意します。
このような画面になります。
4. ダイアログを表示する
ボタンをタップしたらダイアログを表示するコードを追加します。
MainActivity.kt に6~9行目を追加します。
8行目
dialogFragment.show(supportFragmentManager, "my_dialog")DialogFragment クラスの show メソッドでダイアログを表示します。
一つ目の引数には、フラグメントを管理しているオブジェクトを getSupportFragmentManager() で取得してセットしています。
二つ目の引数は、このダイアログフラグメントのタグです。このフラグメントを識別するために使う名前のようなものです。
6. アプリを実行
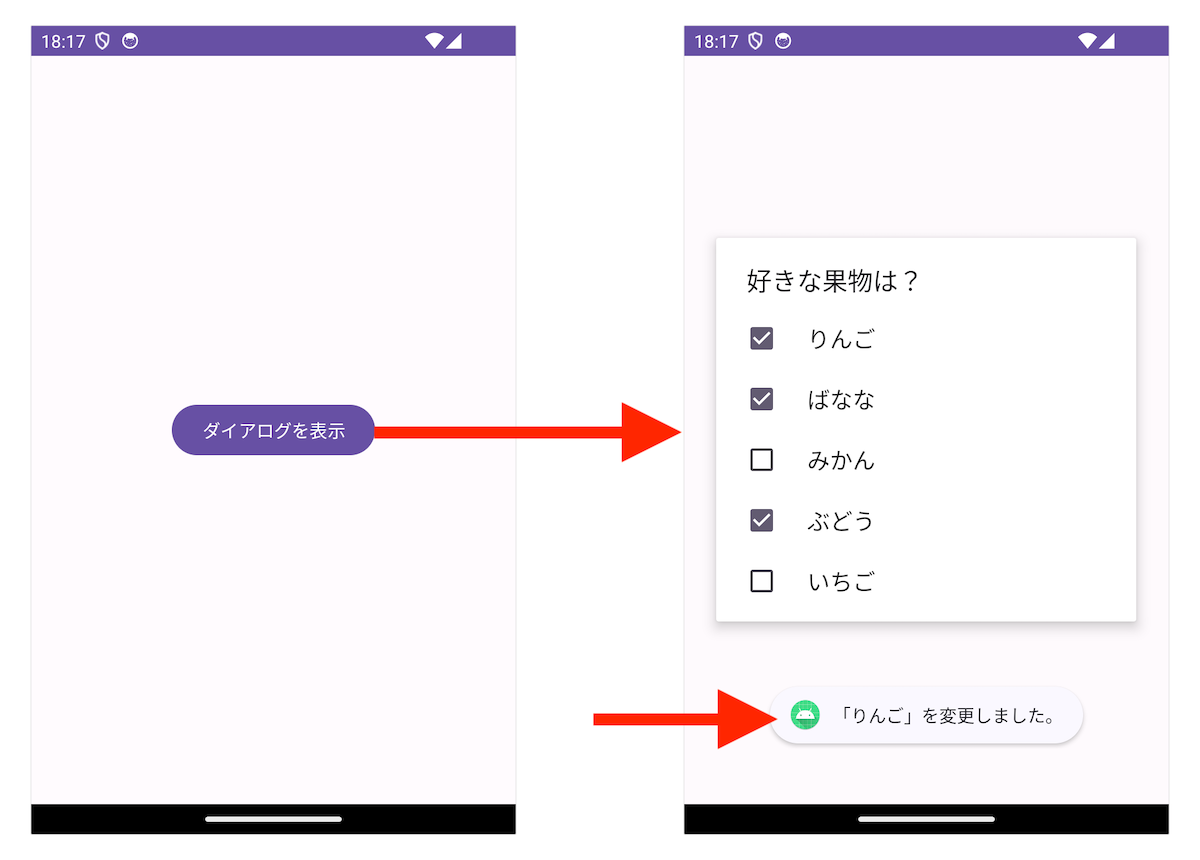
アプリを実行してみましょう。
ボタンをタップするとダイアログが表示され、チェックを変更すると画面下に Toast が表示されます。
その他のダイアログの使い方は以下の記事をお読みください。


このサイトでは「わかりやすく・シンプル」をモットーに、プログラミングの基礎からアプリ開発まで紹介します。
独学でプログラミングを勉強をしている方、基礎は勉強したけれど次に何をすれば良いか分からない...という方のお役に立てるサイトを目指しています。
主な使用言語:Kotlin / Java / PHP
>> 詳しいプロフィール
>> お問い合わせ
>> 書籍
>> note も更新中!
